
Air conditioning has become an essential part of modern living, especially during the hot summer months. The comfort it provides in homes and workplaces significantly enhances the quality of life. Integrating a thermostat with a window air conditioner can optimize this comfort while promoting energy efficiency.
A thermostat-controlled window air conditioner adjusts the temperature in your space with precision. It senses temperature changes and signals your air conditioner to either start or stop cooling. This not only ensures a consistent temperature in your room but also minimizes energy consumption.
However, not all window air conditioners come with a built-in thermostat. That’s where retrofitting a thermostat becomes crucial. Retrofitting enhances your air conditioner’s functionality, making it an automated, worry-free addition to your space.
Contents
Thermostat and Window AC Basics
Thermostats act as the control system for your heating or cooling appliances. They monitor the ambient temperature and activate your air conditioner when the temperature rises above a preset level. Once the desired temperature is achieved, they signal the air conditioner to pause its operation.
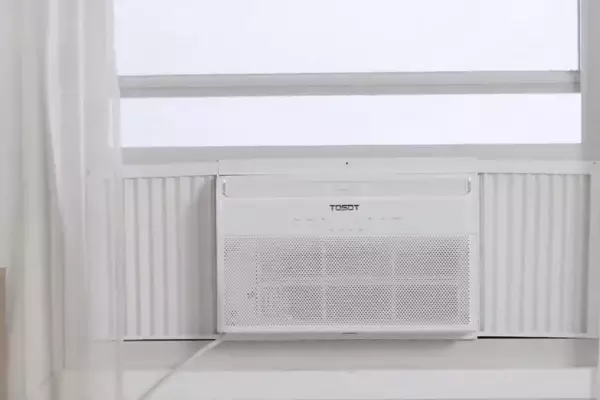
A window air conditioner, on the other hand, is a compact unit cooling system. It’s designed to fit into a standard window space or a specially made slot in a room’s wall. It functions by taking in hot air from the room, cooling it down through a refrigeration process, and redistributing the cool air back into the room.
The combination of a thermostat and a window AC creates a seamlessly automated cooling system. This results in a comfortable and consistent room temperature, eliminating the need for manual operation and constant monitoring.
Types of Thermostats
Thermostats are categorized mainly into three types based on their technology and operation.
Mechanical Thermostats
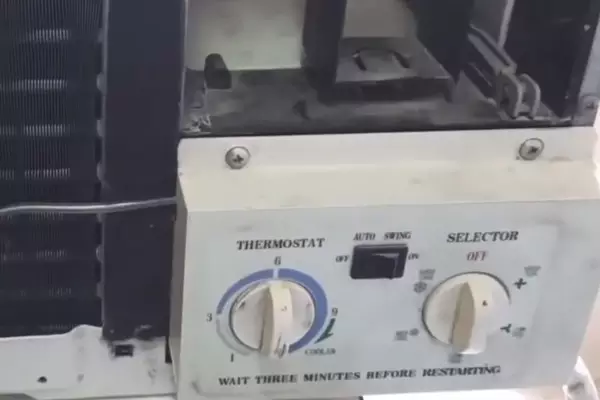
This is the most basic form of thermostats, often seen in older homes. They utilize either bimetallic strips or a gas-filled bellows for detecting temperature changes. Mechanical thermostats are manually adjustable and relatively easy to use. However, they lack the precision and programmability of more modern alternatives, which can lead to larger temperature swings and higher energy consumption.
Programmable Thermostats
Programmable thermostats represent the next step in the evolution of temperature control technology. They allow you to create a schedule for temperature changes, matching your daily or weekly routine. For instance, you can program the thermostat to raise the temperature when you’re at work and cool down your home just before you arrive. This type of thermostat can significantly reduce energy usage and save on electricity bills.
Smart Thermostats
Smart thermostats, the latest innovation in thermostat technology, offer the highest level of control and convenience. They connect to your home’s Wi-Fi, enabling remote control via smartphone apps. They often feature learning capabilities, adjusting your home’s temperature based on your past behaviors and even the local weather. Some models integrate with other smart devices in your home, providing a fully interconnected smart home experience.
Selecting Right Thermostat
Choosing the right thermostat for your window air conditioner involves considering several factors:
Compatibility
Not every thermostat can work with every air conditioner. The thermostat you choose must be compatible with your specific air conditioner model. Check the user manual or consult with a professional if you’re unsure.
Features
Consider the features you need. If you desire the ability to control your air conditioner remotely or want it to learn your routine, a smart thermostat will be the best choice. However, if you only need to program temperature settings for different times, a programmable thermostat may be sufficient.
Budget
Smart thermostats tend to be more expensive due to their advanced features. If budget is a concern, a mechanical or programmable thermostat might be a better fit. Consider the potential energy savings in your decision, as a more advanced thermostat could pay for itself over time through lower energy bills.
Required Tools and Equipment
Before beginning the installation process, ensure you have the following tools and equipment ready:
- Screwdriver: This tool is essential for opening your air conditioner’s control panel and installing the thermostat.
- Wire strippers: These will help you to remove the insulation from the ends of wires to create a secure connection.
- Needle-nose pliers: These can be helpful for bending wires into the correct shape for connection.
- Electrical tape and wire nuts: Essential for securing connections and preventing electrical shorts.
- Safety gear: This includes gloves to protect your hands and safety glasses to shield your eyes from potential debris.
Remember that safety should be your top priority. Always turn off and unplug the air conditioner before starting work to avoid electrical shocks.
Installation Process
Before starting the installation, refer to the manual provided with the thermostat. Though the steps might vary based on the specific models, a general process is as follows:
Initial Preparations
- Unplug the AC: To avoid any potential electrical hazards, start by turning off and unplugging the air conditioner.
- Inspect the AC: Open the control panel of the air conditioner and familiarize yourself with its wiring. This will help you understand where and how to connect the thermostat.
- Choose the Thermostat Location: The thermostat should be located in a place where it can read the room temperature accurately. Avoid places near heat sources, windows, or air vents, which might cause the thermostat to read the temperature inaccurately.
Step-by-Step Guide
- Wire the Thermostat: Most thermostats will come with two wires. Locate the control wire on the air conditioner, which is typically connected to the control terminal. Disconnect this wire and attach one of the thermostat wires using a wire nut. Connect the second wire from the thermostat back to the control terminal on the air conditioner.
- Secure the Thermostat: Once the wiring is complete, secure the thermostat to the wall using screws or adhesive, depending on the model. Ensure that the thermostat is level for accurate operation.
Precautions During Installation
Working with electrical appliances can be dangerous. Keep the following precautions in mind:
- Avoid Live Wires: Always ensure the air conditioner is unplugged before you start working.
- Check Connections: Double-check all your wire connections to make sure they’re secure. Loose wires can lead to short circuits, damaging the air conditioner or thermostat.
- Follow Instructions: Always follow the manufacturer’s instructions for both the air conditioner and thermostat. If you’re ever in doubt, don’t hesitate to call a professional.

Post-Installation Steps
After installing the thermostat, there are few more steps to ensure it operates correctly:
Thermostat Settings
- Initial Setup: Follow the manufacturer’s instructions for setting up the thermostat. This usually involves choosing the current date and time, setting your desired temperatures, and setting a schedule if using a programmable or smart thermostat.
- Preferred Settings: Set the desired temperatures for different times of the day. The U.S. Department of Energy recommends setting your air conditioner to 78°F when you’re at home and raising the temperature when you’re away or asleep to save energy.
- Energy Efficiency Tips: To enhance energy efficiency, use features like scheduling or eco-mode if your thermostat has them. Regular maintenance of your air conditioner, such as cleaning the filters, can also help it run more efficiently.
Testing the System
Turn on your air conditioner and observe its operation. It should stop once the set temperature is achieved and restart when the temperature rises. Seek professional help if the system doesn’t operate as expected.
Troubleshooting Common Issues
If the thermostat isn’t controlling the AC as it should, recheck your wiring. If the problem persists, the thermostat might be defective.
Maintenance Tips
To keep your thermostat in top condition, regular cleaning is a must. This includes dusting the interior components and replacing the batteries as needed.
Scheduling periodic check-ups ensures your thermostat and AC unit are working effectively. If any issues arise, hiring a professional for repairs is a wise move.
Frequently Asked Questions
Can any thermostat be installed on my window air conditioner?
Not all thermostats are compatible with every AC unit. Check your AC’s specifications before purchasing a thermostat.
Is installing a thermostat a DIY task?
While the installation process can be a DIY task, if you’re not comfortable with electrical wiring, it’s better to hire a professional.
Does a thermostat increase energy efficiency?
Yes, a thermostat can improve energy efficiency as it controls the AC’s operation, preventing it from running unnecessarily.
Conclusion
The integration of a thermostat with a window air conditioner can dramatically enhance the comfort and energy efficiency of your space. It provides an automated system that ensures a consistent temperature, freeing you from manual monitoring.
However, the process requires careful attention to details such as the type of thermostat, installation, and maintenance. Proper handling of these aspects ensures an effective, efficient, and long-lasting system.
In the end, the benefits of integrating a thermostat with your window air conditioner are manifold. It’s an investment that offers returns in the form of comfort, convenience, and cost savings in the long run. Be it a sweltering summer afternoon or a humid night, the thermostat-controlled AC system will keep your space just as cool as you desire.